3D printing also known as additive manufacturing, it is that process through which solid objects can be built from digital files. This can be achieved with using various 3D printing techniques. Most of these techniques involve the creation of an object by laying down thin layers successively. Well anyways, the process of 3D printing and the various techniques involved is out of scope of this article. In this article we take you through all the 6 steps that are to be undergone for printing a 3D object.
Here Are The Steps Involved in 3D Printing:
#1 CAD File Development
In order to produce a 3D object you first have to have its virtual design. This is to be done using the Computer Aided Design (CAD) software. Through this the exact dimensions of the objects considered and simulated to see how the object will behave under various conditions.
#2 CAD File Conversions
Once the CAD file is developed, the next thing one has to consider is converting it into specific file formats. The file formats are specified based on the technology of printing being employed by that particular 3D printer. For instance, the CAD file has to be converted into a STL (standard tessellation language) if the printer is based on the stereolithography technique.
#3 STL File Manipulation
Now that the STL format file is ready with you, all your computer now needs is a 3D printer which can print using the stereolithography technique. But before this, users will have to set the orientation and size of the object to be printed. This is similar to the case of a 2D printer.
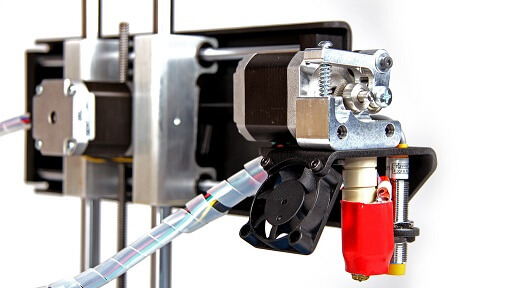
#4 Preparing The Printer
Now that everything about the digital file is ready, you need to make sure the 3D printer is ready as well. This means installing properly the polymers, binders and other material which are necessary to perform a print operation. Once all such requirements are met, you are almost ready to print.
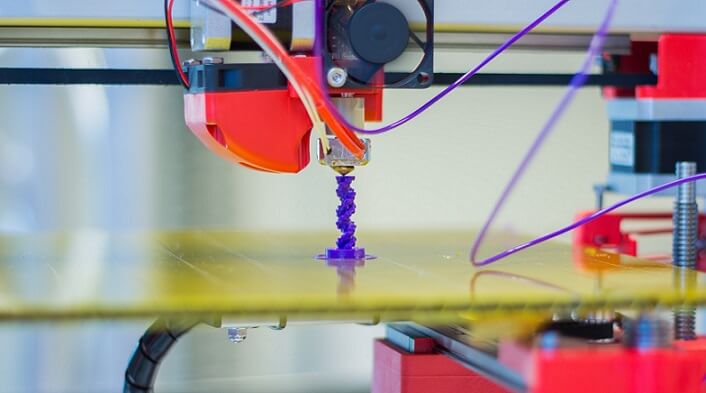
#5 The Building Up
Once the process has started, it is now all about patience. These printers aren’t as faster as the 2D printers. Based on the complexity of the object to be printed, the span of printing varies. Simply all that one has to do is wait and perform random checks to make sure everything is being done flawlessly.
Since the entire construction of the object is in form of very thin layers, it definitely is going to take some time.
#6 Post Processing Stuff
Once the entire process is done and the object is ready, make sure you handle it carefully. Any actions in haste could prove to be costly. So right from putting on some gloves to bring the object out of the printer to brushing off any residual powder, everything is to be handled carefully.
And that’s it! If your CAD file is perfect and the post processing part is well executed, then you’ll have it; your first 3D printed object.
[Source: The Book ‘Additive Manufacturing Technologies: Rapid Prototyping to Direct Digital Manufacturing’]