File History update is a Windows 7 feature , which was not well known and therefore very few people used it. This tool provides a user interface which is easy to access and has more features and was designed to create backup copies of previous versions of your files and important data . So that if something goes wrong, you have multiple versions to restore. Users who are familiar with the application known as ” Time Machine ” developed for Mac, Apple will recognize this concept immediately. However, this program has been introduced in Windows 2003, but then had a more basic form.
Steps To Backup Your Data Using File History :
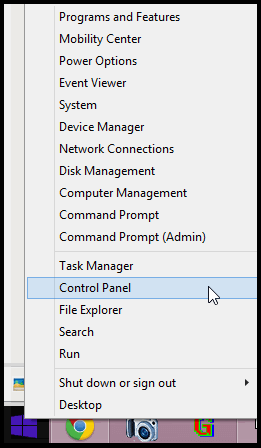
Step 1 : Open Control Panel :
Move your mouse to the top right corner of the screen and click on Search. Now type ” Control Panel ” and hit enter.
Step 2 : Save Copy Option :
In the Control Panel, Click on the ” Save copies of your files with File History ” option located under the ” System and Security ” section .

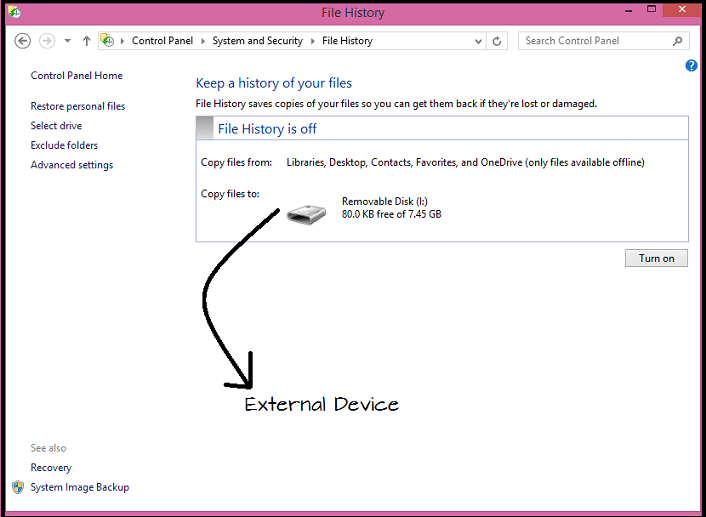
Step 3 : Enable ” File History ” :
To enable ” File History ” connect an external storage device (such as a USB stick), Windows will automatically detect and configure the location of file history storage; or go to a network folder you want to use for this purpose.
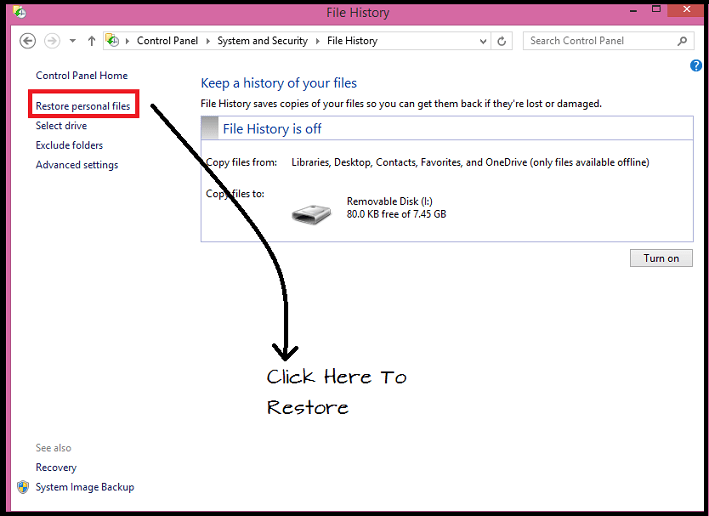
Step 4 : Restore :
To restore files, click on the ” Restore personal files ” option located on the left side of the main screen of file history. Then a user friendly interface to navigate recovery files will appear. Simply go to the folder where your file is stored and use the arrow at the bottom of the screen to move forward and backward in time. When you find the file you’re looking for, just right-click on it to view all previous before pressing the big green button that lets you restore the version you want.
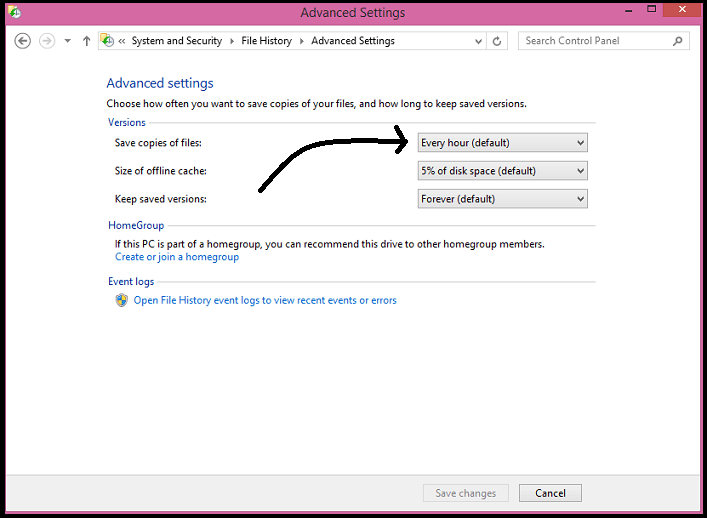
Step 5 : Set The File Backup Time Interval :
To increase the frequency with which Windows creates backups of your files, just click on the “Advanced Settings” to the right of the Windows File History tab. Now change the setting of “Save copies of files ” as you need .
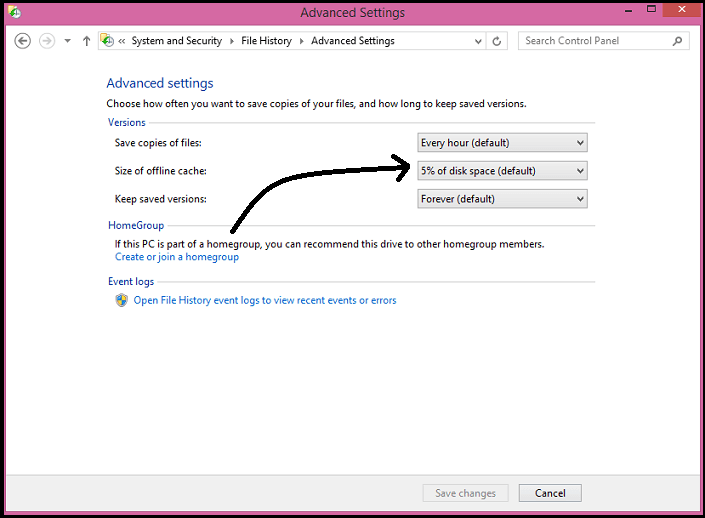
Step 6 : Offline Files :
To access offline files, check the options of history files in the Advanced Setup window. This is ideal for people who travel because when you’re away from the source where you store your backups (eg when you’re traveling with your laptop), you work on the files to be stored on the local formal when you’re back, are synchronized with the location of your backups.
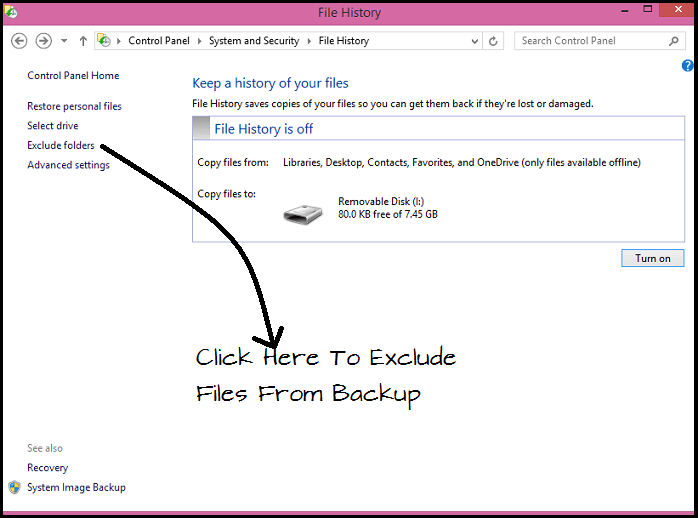
Step 7 : Exclude Folders :
If you want exclude a specific folder from automatic creation of backups, click on the ” Exclude Folders ” option on the left of the main window of the file history .