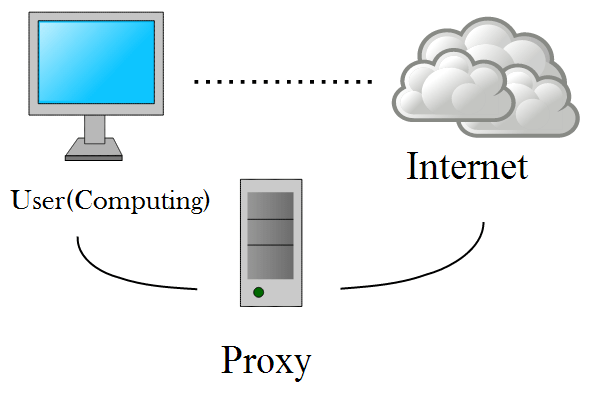
Want to hide your web activity from the prying eyes ? Are You blocked from accessing some websites that you need , By the government or office, or the school ? Don’t worry Proxies allow you to bypass the locks placed on your connection and hide your IP, Which makes your actions more difficult to follow. Once you find a proxy server you want to connect, you simply need to enter that information in your web browser.
Steps To Change Your Proxy Settings :
Step 1 : Click on the Menu button:
This is in the top right corner of the Chrome window, and it looks like three horizontal bars.
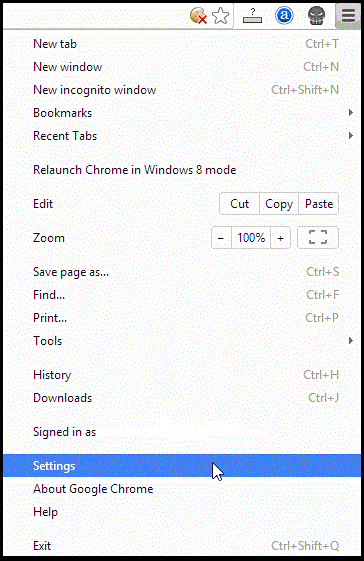
Step 2 : Select Settings :
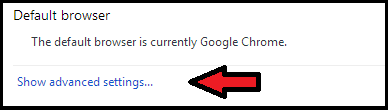
This will open a new tab in your browser. Click on the link ” Show advanced settings ” which is at the bottom of the page.
Step 3 : Click on the ” Change proxy settings ” :
This is located in the Network section of the advanced settings. When you click this button, the Internet Properties dialog box will be displayed.

Note: Changing proxy settings in Chrome is linked to your operating system, and as such will affect all applications or programs that are connected to the Internet. If you do not want to change this setting, you need to download a Chrome extension like Proxy Helper or ProxySwitchSharp .
Step 4 : Click the “LAN Settings” button :
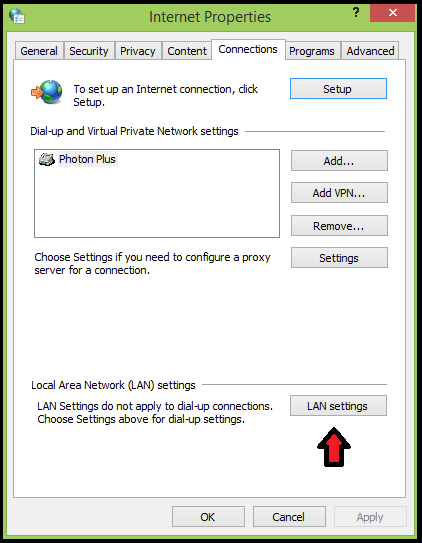
Now a ” Local Area Network Settings ” dialog box will be displayed . Uncheck the ” Automatically detect settings ” check-box and Check the box in the ” Proxy Server ” section.
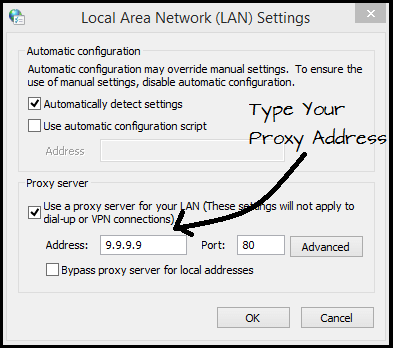
Step 5 : Enter the proxy information :
Enter the IP address or domain, and also the port to which you want to connect. Click OK when finished.
- When you have finished using your proxy and wish to return to your direct connection, open the LAN settings again and check the ” Automatically detect settings ” and uncheck the box that is in the ” Proxy server ” section.

Share Your Views In Form Of Comments…