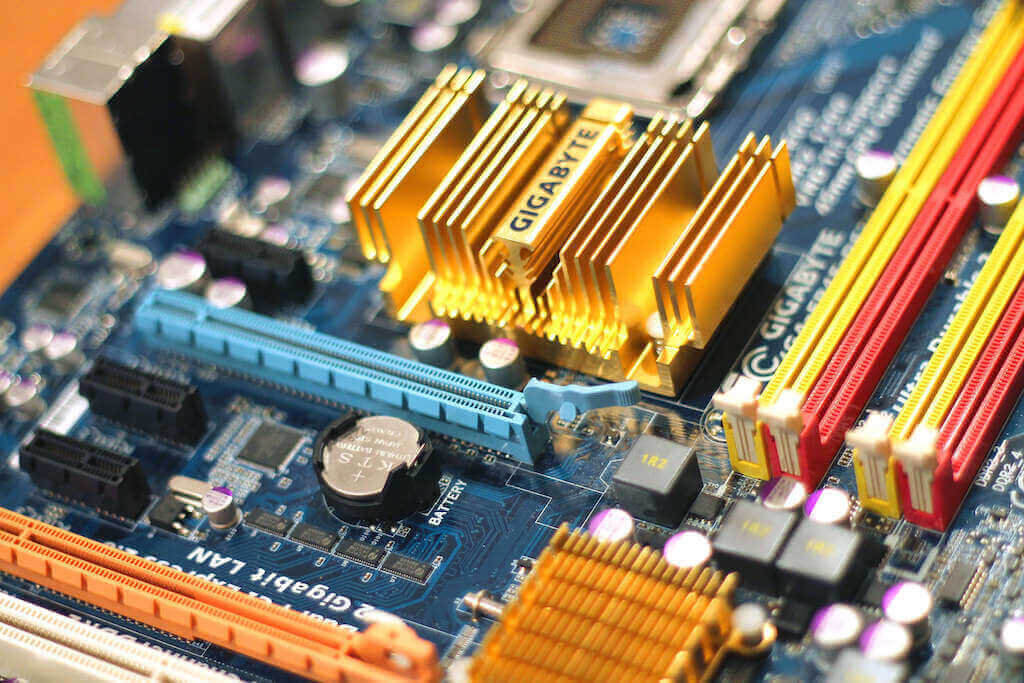
Building your own PC while complex is not difficult. To make this point, we have started working on a series of articles on installing or replacing various crucial components of your PC. We wish to encourage our readers to bust the long prevailing PC building myths and start building their dream PC all by themselves.
Install A PC Motherboard:
Replacing or installing a PC motherboard takes a while especially if this is the first time you are doing it by yourself. There is also a need to exercise caution or you may end up doing things you ought not to. Don’t worry, follow the steps given below carefully and you can complete it painlessly.
In any case, if you are not sure about what a motherboard is and how it works exactly; you can take some time and know everything there is from the below articles.
Step 1. Getting Started
Firstly make sure you have a comfortable space to work with and all the essential tools. Don’t worry, by tools we just mean the screwdriver
Step 2. Disconnect cables and remove components
Disconnect the cables and remove the components that are installed on the board. Finally, remove the screws securing the motherboard to the case. While disconnecting the power supply cables you will find two types of connectors plugged in. One is the ATX (with several lines) providing main energy and the other is the secondary connector to power the processor.
While removing these you may have to apply certain pressure, so be careful to avoid cutting yourself with the other components.
Step 3. Remove the old Motherboard out
If you have missed the logical order of removing components, things might get rough. To sum up, first remove all the big components like the Hard Drives, RAM, Graphic Cards etc. Then start unplugging the cables (incl. power supply). Now, unscrew the Motherboard from the mounting points and preserve the screws carefully you will need them shortly.
Remove the Motherboard from the casing and carefully pull out the CPU. In this entire process never use excess force or you may break some of those pricey components.
Step 4: Install a PC Motherboard into the case
Once you are through unboxing, install the Motherboard exactly over the mounting points and screw it. From now on, you just have to repeat everything you have done in reverse. Make use of the pic you took earlier to speed up the process and to avoid any confusion. Plug in the CPU, Graphic Card, RAM, one after the other properly.
Note: Some Computer cases do not come with raised mounting points. Then, make sure you are using the standoff screws you get with the Motherboard. If you don’t there is a possibility of frying the entire board once you turn your PC on.
Step 5: Connect the power supply first
Once the motherboard is in place, you can start connecting your components. However, we recommend you to connect the power supply first. There’s no rocket science here but the plug could be difficult to find once you have connected everything else. Make sure both the 20/24 pin (primary) connector and the 4/8 pin 12V (secondary) connector are plugged in firmly.
Warning: Be sure to ground yourself before working on the build. The simplest way to tackle any electrostatic charge is to put on an Anti-Static Wrist Strap
Finally, recheck all the connections and turn on the PC. You may initially notice your PC rebooting twice or thrice, to adjust to the new hardware. If you find any difficulties write to us or post the problem in any of the many PC building forms to find out what you are missing.
