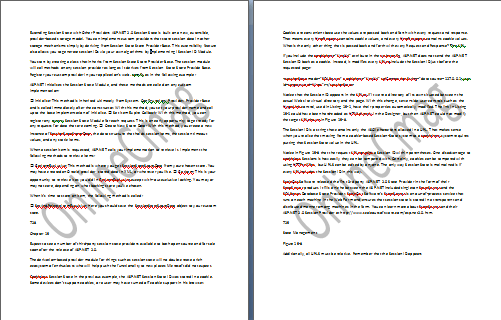
A watermark is a Text or picture that appears behind the document’s content . Generally This watermark is in light color so that it doesn’t distract too much . Usually a watermark is given to identify a company or the status of the document .For Example, a watermark might be like Urgent , confidential or even an Image. Follow the below given steps to Add watermark to a Word document .
Steps To Add Watermark To A Word Document :
Step 1 : Open your Document :
Open the ” Word document ” For which you want to add watermark .
Step 2 : Move On To Page Layout :
Click on the ” Page Layout ” Tab in the Top Menu bar and select ” Watermark ” under the ” Page Background ” Section .
Step 3 : Select The Patter :
Now you can select one of the predefined watermarks, or If you want to use your own text/image, Then select ” Custom Watermark ” Option .
Now a ” Printed Watermark ” dialog box will be displayed:
=> To insert a custom text watermark :
1. Check the ” Text Watermark ” Option .
2. Firstly Select the desired language from the drop down menu . Now type in the desired text in the ” Text ” field .
3. Now Customize your watermark by selecting other options like text font , text size, text color, and text layout then click on “OK”.
Now the Watermark will be inserted into your Word document.
Demo Document :
=> To insert a custom image watermark:
1. Check the ” Picture watermark ” Option.
2. Then click on the ” Select Picture…” button.
3. Now an “ insert picture ” dialog box will be displayed . Navigate to the picture which you want to add as a watermark and click on ” Insert “. Select the customized scale if wanted, then click on “OK”.
Now the image will be inserted into your word document as a watermark.
Demo Document :
Share your views in form of comments …..


