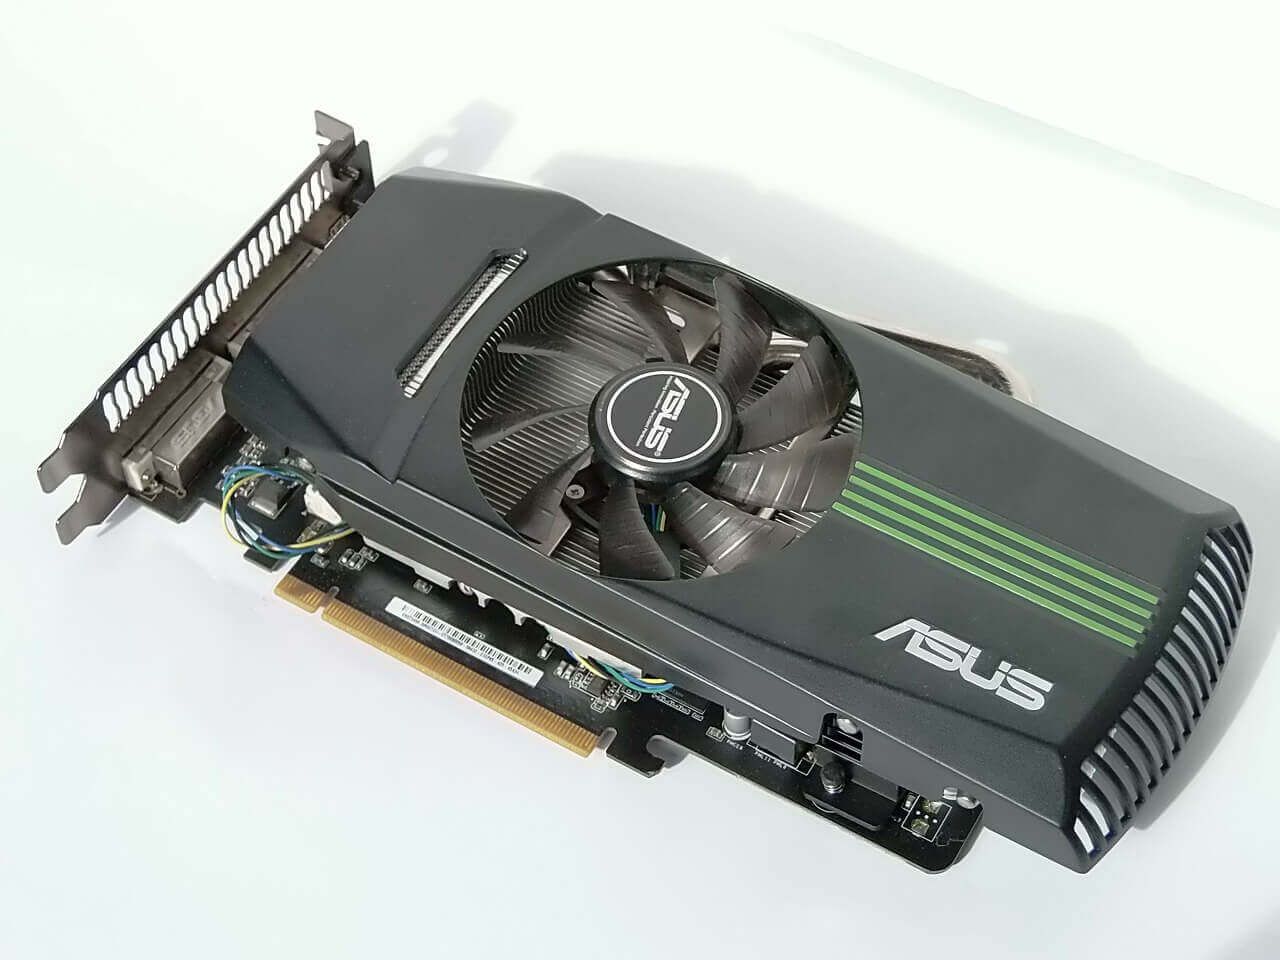
Upgrading your existing Graphics Card or installing a new one after getting tired of the onboard graphics is one of the major upgrades that can be. It can completely transform your PC into a powerful machine and can run the most resource demanding games and applications with ease. If you are satisfied watching movies and playing games like Farmville on the Internet this guide is not for you.
Before we begin
In this article, we explain how to install a graphics card (or video card) without damaging any hardware. Before getting down to it, we recommend you to go through our beginner guide for understanding motherboards to have a clear idea of what all parts are present within. In case you are planning to upgrade your laptop’s graphics card, this easily understandable step-by-step guide will help you through it.
Also Read: Frequently Asked Questions Guide – Graphics Cards
Replacing Existing or Placing New Graphics Card
At times the steps users follow while installing a graphics card or video card is annoying and tedious. So, make sure you clearly understand all these steps before starting. You might also consider bookmarking this page to come back later and get started on upgrading your graphics card.
Remove Previous Video Card
Step 1: In case you already have a graphics card, first, you will have to uninstall the drivers related to your old video card. For this go to Control Panel and then to Add or Remove Programs.
Step 2: Carefully look for drivers of your previous graphics card, watch out for vendors name GEFORCE, or NVIDIA, or ATI or similar depending on your Graphics Card manufacturer.
Step 3: After successful uninstallation, you will have to remove the graphics card. Prior to that, carefully disconnect all electrical power to the PC. Unscrew the graphics card (if attached to the cabinet) and remove it slowly.
If you have any trouble identifying the graphics card, look out for the PCI Express lane. You will know how it looks exactly and in the process learn tech behind PCI Express lanes.
How To Install Graphics Card
Step 1: Download the latest drivers and utilities from your new graphics card installation disk.
Step 2: Wash your hands and dry them well. Disconnect all the plugs of the computer. Using an antistatic wrist strap ground yourself to avoid damaging parts from electrostatic discharge.
Step 3: Open the PC casing plate carefully and clean it internally for dust with a soft brush along with a torch.
Step 4: Align the new graphics card with the PCI Express slot carefully and make sure it is housed properly.
Step 5: Embed the graphics card into the motherboard and fix the screws.
Step 6: Reconnect the cables and make sure everything is properly arranged
Step 7: Close the case of your computer and plug in all cables as they were
Step 8: Turn on your computer and install graphics card drivers you previously downloaded
Step 9: Install the GPU-Z application check if everything is working fine.
Step 10: Configure graphics settings of your games and … Enjoy!
Also See: How the Graphics Processing Unit (GPU) In Graphics Cards Works
Make sure you follow all these steps carefully. If there is anything else stopping you from taking up this easy task, it could be one of the 5 PC building myths that we have busted in our previous article.


I must say you have very interesting posts here.