If you are a big fan of electronics like us, are always interested in experimenting and building great projects it’s time you have known about the powers of Arduino.
So read on and explore this wonderful piece of technology with which you can develop simple to the most complex of projects with ease.
What Is Arduino?
Arduino is a popular open-source tool, specifically a development board containing a microcontroller which can be programmed and then acts similar to a computer.
But this computer is not the same as our PCs, it can sense, control and interact more with the physical world. The best part is it’s so easy to program and requires no external hardware to do any of that.
The other important fact that makes Arduino more useful for beginners is the fact that it’s completely open source. Both the hardware and software schematics are available online without any restrictions.
This means beginners can start off well learning from various pre-existing projects and code libraries and since you can build it from scratch, the technology is more transparent than its competitors.
But, remember that building it from scratch isn’t what you should do; mainly because you wouldn’t be able to upgrade it at a later point. And it hurts the purpose of this device in the long term.
Getting Started Is So Easy
All you have to do is purchase the latest Arduino from their official site or from some place else (online or offline), it costs you around $50. Then download the open-source software from the Arduino site.
Run it on your Mac OS X, Windows or Linux operating systems and the process goes nice and easy. Now if you are a beginner in dealing with hardware projects, go through the example programs, or “Sketches”, available in the Sketchbook.
These sketches are preloaded into the software and you don’t have to run around the Internet for them.
Here you can get very well accustomed to the Wiring language, on which the entire Arduino language is based on.
After going through few of these tutorials its time you connected the board to your computer via USB port. Follow the instructions and compile the code.
Once you have sent this code to the board, your first experience with the board is done. Now based on the project you want to experiment on, get the right hardware and good code and that’s it. You’re done.
Now that you have the basics intact, you can use Arduino boards for a wide variety of purposes. You can take inputs from multiple sensors and switches and control motors, LEDs and other compatible physical components.
If you are looking to purchase one right now, these link will take you there:
1. Arduino UNO R3 Development Board
2. Arduino Mega 2560 Development Board
Shields Add More Power
Many a time, with the size of your project you may need to interact with more inputs and control more devices than a single Arduino board can handle. This issue can be solved by connecting Arduinos together but the best choice would be to get a shield.
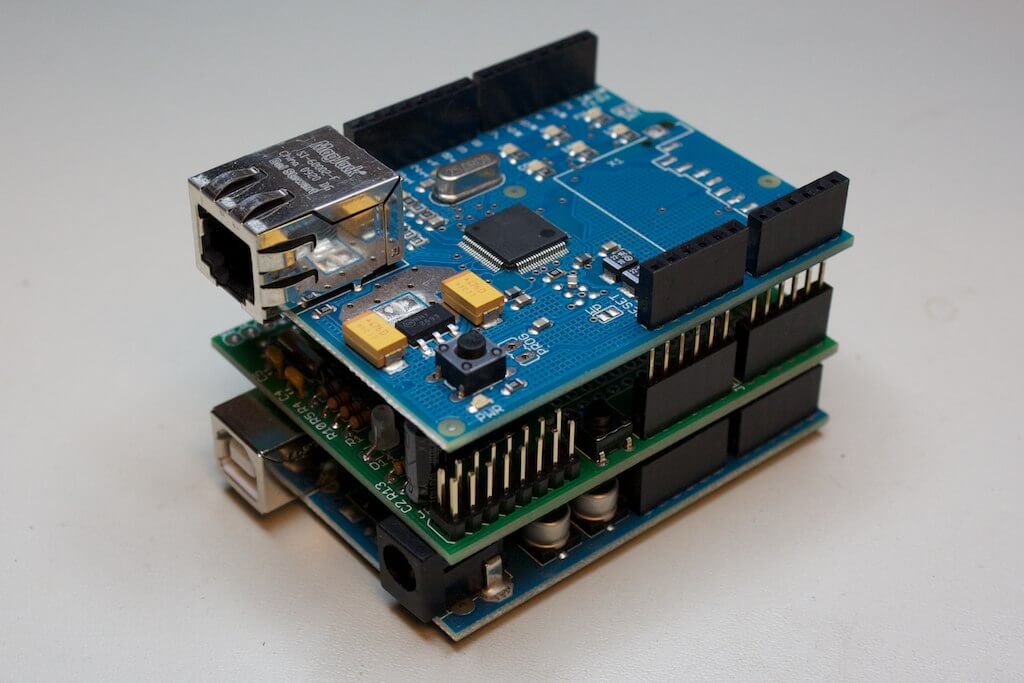
A shield is another board that sits on top of your Arduino and provides extensibility and added functionality into your projects. There are a range of Shields available and you can find them here.
Your Thoughts
How have your experiences been so far with Arduino boards? Do share with us some of your experiences and suggestions. We love feedback!

