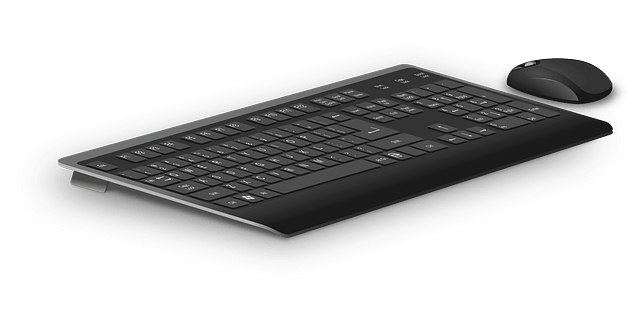
If our work demands us to use two or more computers at the same time, alternating between the two is quite tedious and unproductive. But with Synergy 1.3.1 . We can configure them with a single mouse and keyboard, we will be able to control the same way in which we handle a single computer and two monitors extending the desktop. Simply dragging the pointer to the side of the screen jumps to the another computer.
In addition, the major amenities provided include the ability to share the clipboard, to copy and paste text and images between computers.
You can connect systems with different operating systems ( Windows, Linux and Mac ), however, the essential criteria to use Synergy is that computers must be networked.
Steps To Use The Same Mouse And Keyboard For Multiple Computers In A Network :
Step 1 : Choose the server :
We must choose a computer to convert it to a server, this will be the main component where the clients keyboard and mouse are connected. As a general rule, we will choose the one we use most frequently.
If you have activated the Windows Firewall , you must add an exception for Synergy in order to receive incoming connections, to do so, go to Control Panel / Windows Firewall , once here, inside the tab Exceptions , select Add Program and add Synergy to your list. If you use another firewall program, you must also make sure of the appropriate adjustments.
After installing Synergy on your server, execute it, and in the first screen, mark the option Share this computer’s keyboard and mouse (server) , and click the button config , because all configuration parameters are set on the server.
Step 2 : Add your screens :
The first configuration step is to add all the computers we want. On this sense, we must know the name of each computer, if you do not know, you can consult or change in Control Panel / System , the tab name equipment.
Once you have taken note of the names, just press the + key to display a screen ” Enter The Name Of The First Computer “. Then click on OK . Repeat this process for all computers you wish to add.
It is important to note at the time of the connection, if you notice some strange behavior with keys Caps Lock , Num Lock and Scroll Lock , we return to these options and check the appropriate boxes to enable bidirectional communication.
Step 3 : Create links:
After completing the process of adding the systems, it’s time to create focal points to jump from one screen to another. The most common configuration is to have two devices side by side, so that rising from the right of the left-most, enter the second and vice versa. However, we can place more than two and configure the way that suits us.
At the bottom menu that we saw in the previous step, in the first dropdown, choose the name of the screen to the right and select left side go to our left monitor. Percentages also see where we can adjust the sizes of the linked areas. After adjusting the parameters, just press + .
As expected, we perform the same action but contrary to our other display and thus able to move the mouse in both directions. Once configuration is complete, proceed to save it by clicking OK and returning to the main screen. We are ready to start our server, so you will press Start and Synergy will minimize to the system tray being pending connections.
Step 4 : Connect customers :
With our server running it’s time to connect the clients. Now Install and run this application in the computer you want to connect. Now on the main screen, select the option Use another computer’s shared keyboard and mouse (client) , write down the name of the server and press the button Start .
If everything went correctly, Synergy will be minimized and you can see its icon in the system tray with a yellow beam. From this moment, we can move the mouse connected to the server to see how it moves from one screen to another. In the event that has not been able to connect a console indicating the error appears and you must therefore review the configuration and verify that the equipment is properly connected to the local network.
Step 5 : Set and forget :
Since we will only use a keyboard and mouse, we are concerned that whenever computers are turned ON, they are automatically connected together without having to launch Synergy in each of them. On the Home screen, press the button autostart , now a dialogue with lots of text, but only two buttons will be displayed, the first install this feature for the current user and the right will do the same with all users of the computer.
Hardware or software?
We face an interesting case because using a program we can emulate the same work as would a physical device: A KVM switch (Acronym for Keyboard Video Mouse ), a device that allows us to control multiple computers using a single keyboard, monitor and mouse. These devices are connected to the corresponding ports on the CPU and allow us to switch between them by a switch without changing the peripheral hand.
Therefore, we could consider a virtual KVM Synergy, which offers some improvements such as: share clipboard, create the illusion of working with a single desk and the not inconsiderable advantage of saving a bunch of cables. However, you can use a physical KVM, if we want to use one screen to control multiple PCs or if they are not on the same network.


